Props making is one of the most important lesson to master for Cosplay. Often for me, it's really important as I often decide to do characters last minute..... To make sure that its possible to keep up with my pace of ideas, DIY on the props became main things to be finish up before events or shooting.
After the two studio event, alot of people ask where I get that knife... and I would say it's made out of newspapers and cardboards... seriously.
Here's the tutorial. The thing that makes newspaper a better choice for other materials is that its easy to get and its recyclable items. I am sure that there's old newspaper in everyone's house! Besides, its easy to handle especially in emergency situation. The process needs just a few hours, hence easy and swift. Recommended for last minute preparation.
Now here's the materials:
Newspaper (tear into small strips)
Thin cardboard ( I use empty tissue box and tissue roll)
Thick cardboard (boxes)
Masking tape
Soft polyfoam (optional)
Thick String
Acrylic paint (can get from popular around RM8 per stick)
-black
-white
-burnt umber (brown)
-ultramarine (dark blue)
Gold paint
Pearl Silver paint
Hot glue
UHU glue
Of course tools like scissors, blade, ruler, pen is required too.
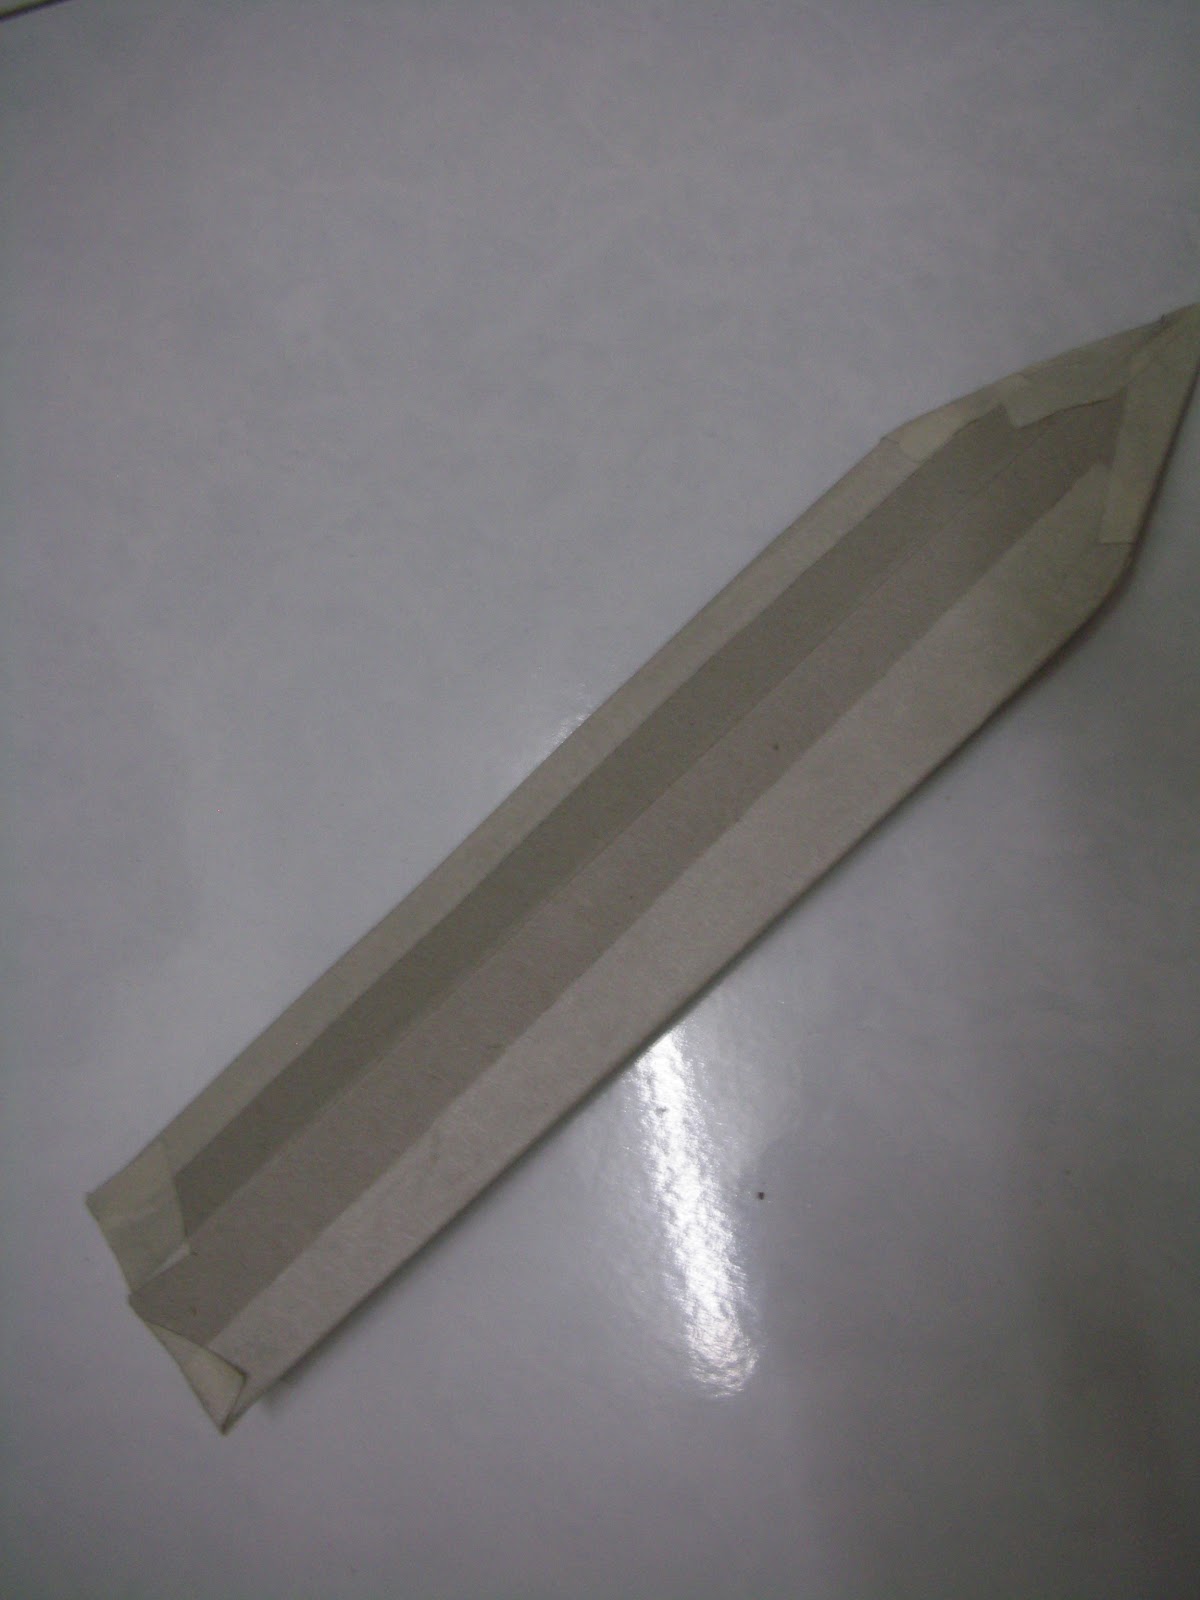
First step, draw out the shape of the knife on tissue box cardboard, make two pieces to cover both front and back and cut it out.
Align two piece together and stick them together using masking tape.
Make sure the sides are covered nicely as you do not wish to get holes when sealing them. Leaved the opening on top unsealed for stuff.
Sides should be covered nicely...
Next, stuff in newspaper to shape out the thickness of the knife and make it rigid. Leave the body of the knife aside first.
Next is on the shank of the knife. I use the inner cardboard of tissue roll. Cut two circle around 1cm height and joint them together using masking tape.
It should look something like this. Draw and cut out two oval shape, base on the shape of the shank u wanted it to be, on the thick cardboard.
Measure the handle part, around 0.7x3cm (this depends on your own measurement) Things to be caution is to make sure that the hole is sited in the middle part of the oval shape.
So you'll have something like this after all the basic preparation. Body of the knife, white polyfoam for handle and shape of the handle, two oval cardboard, one ring cardboard.
Next thing is the assembly of the knife. stuff in the oval shape into the ring, glue with plenty of hot glue. Put in the handle polyfoam (this can be replace using newspaper handle as well. Make a long rectangular handle and stick with a lot of masking tape) Notice here I actually leave a little bit of the polyfoam (around 2cm) at the bottom of the handle for easy joining of the handle with the body later.
Cover the other oval cardboard on and glue with plenty of hot glue. Make sure that the glue lie evenly on the cardboard. You can do this by melting the protruding glue using the tip of the glue gun and smeared evenly on the cardboard. (P/S: there's still some part of the handle left at the bottom.. although its hard to see in this pic)
Shape out the shape of the handle using newspaper and masking tape.
Lastly would be joining of the knife's body with the handle. Glue with plenty of hot glue and UHU glue to make sure that it fits nicely in. The basic shape is done.
Now is the masking part! Prepare a bowl of glue (2parts of water, 1part of white glue), mix well and ready for use.
Make sure that your strips of newspaper is tear into small pieces and ready for use.
Paste the strips of newspaper with the glue. This is a very important step. It decides if the smoothness of the surface of your knife. Important things to be notice here is , you should make sure that the newspaper is soak wet thoroughly and smooth on the surface without bubbles or folds. Place on layer by layer, withouth overlaying too much as to make sure that the thickness of the surface is even.
Cover the whole knife (except the handle) with 2-3 layers of newspaper. Should overlay newspaper on the intersection of the knife body and the shank, so that the intersection would not look too obvious. The shank part should use really small pieces of newspaper, so it would look smoother.
After covering everthing with newspaper, it should looks something like this. A tips to make the surface more harden: Paint another layer of thicker white glue ( add somemore white glue into the glue mixture to thicken it) on all the surface of the knife. Let it air dry for a few hours.
For the handle part, I wrap with two layers of newspaper and coil strings on it with UHU glue (preferable lighter color, will be painted later on).
Overall, the knife is considered done! What left here now is the finishing.
Paint the knife using acrylic color.
Body of the knife : pearl silver + a little bit white and black.
Shank: Burnt umber + ultramarine ( to darken the brown) and later on finish with thin layer of gold paint for the shiny surface.
Something to mention here would be the texture of the newspaper base. Sometimes there will be some bubbles trap between the newspaper and cause the surface to look uneven. Thus, to fix this, use the glue mixture just now as solvent for the acrylic. Smoothly rub the color on the surface to even it.
Lastly, the handle part would be burnt umber + ultramarine (more to look very dark brown). I leave this part the last as its more easier to handle when painting other parts. Don;t forget about the wording on the knife as well. Write in on using either sharp tips markers or ball pen.
And lastly TADAA~~~ your very own Akira's knife is done~~~ I wrap abit some details like the tips and side of the knife with pearl silver alone to refine the sharpness of the knife.
One of the best features of newspaper product is the lightness. Unlike woods or metals, its much more lighter and easy to handle, and of all, its CHEAP!!!! XD